2007
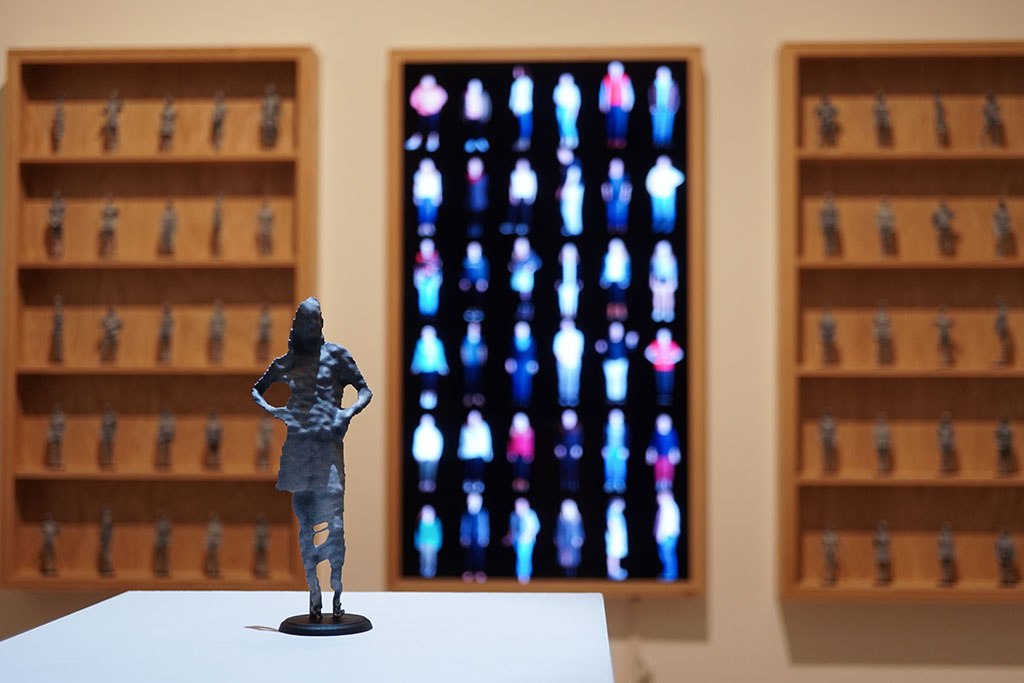
University of Illinois at Chicago, Electronic Visualization Laboratory
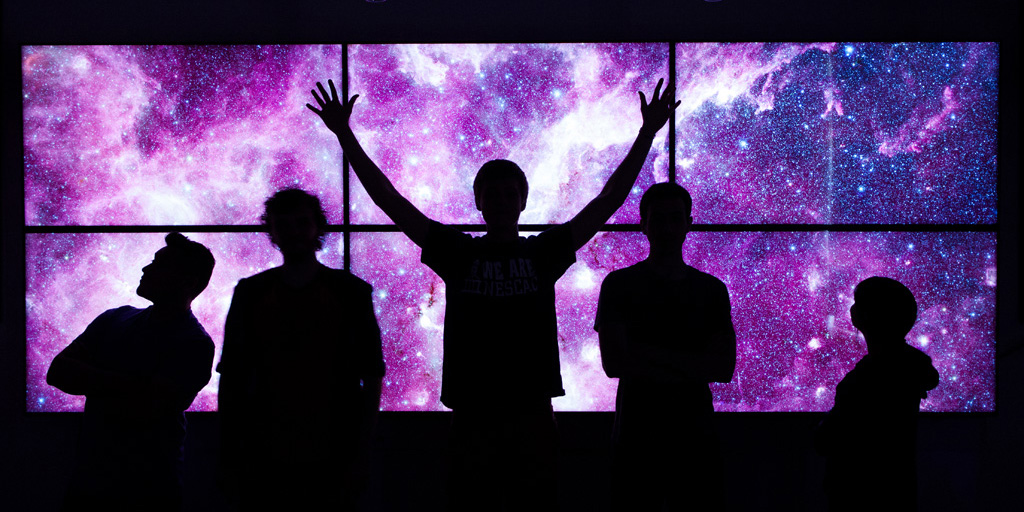
Concept and Team
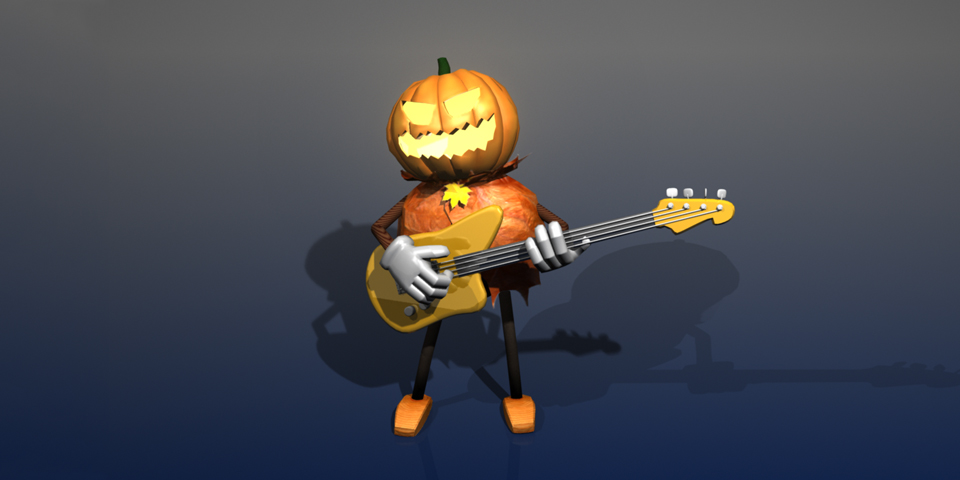
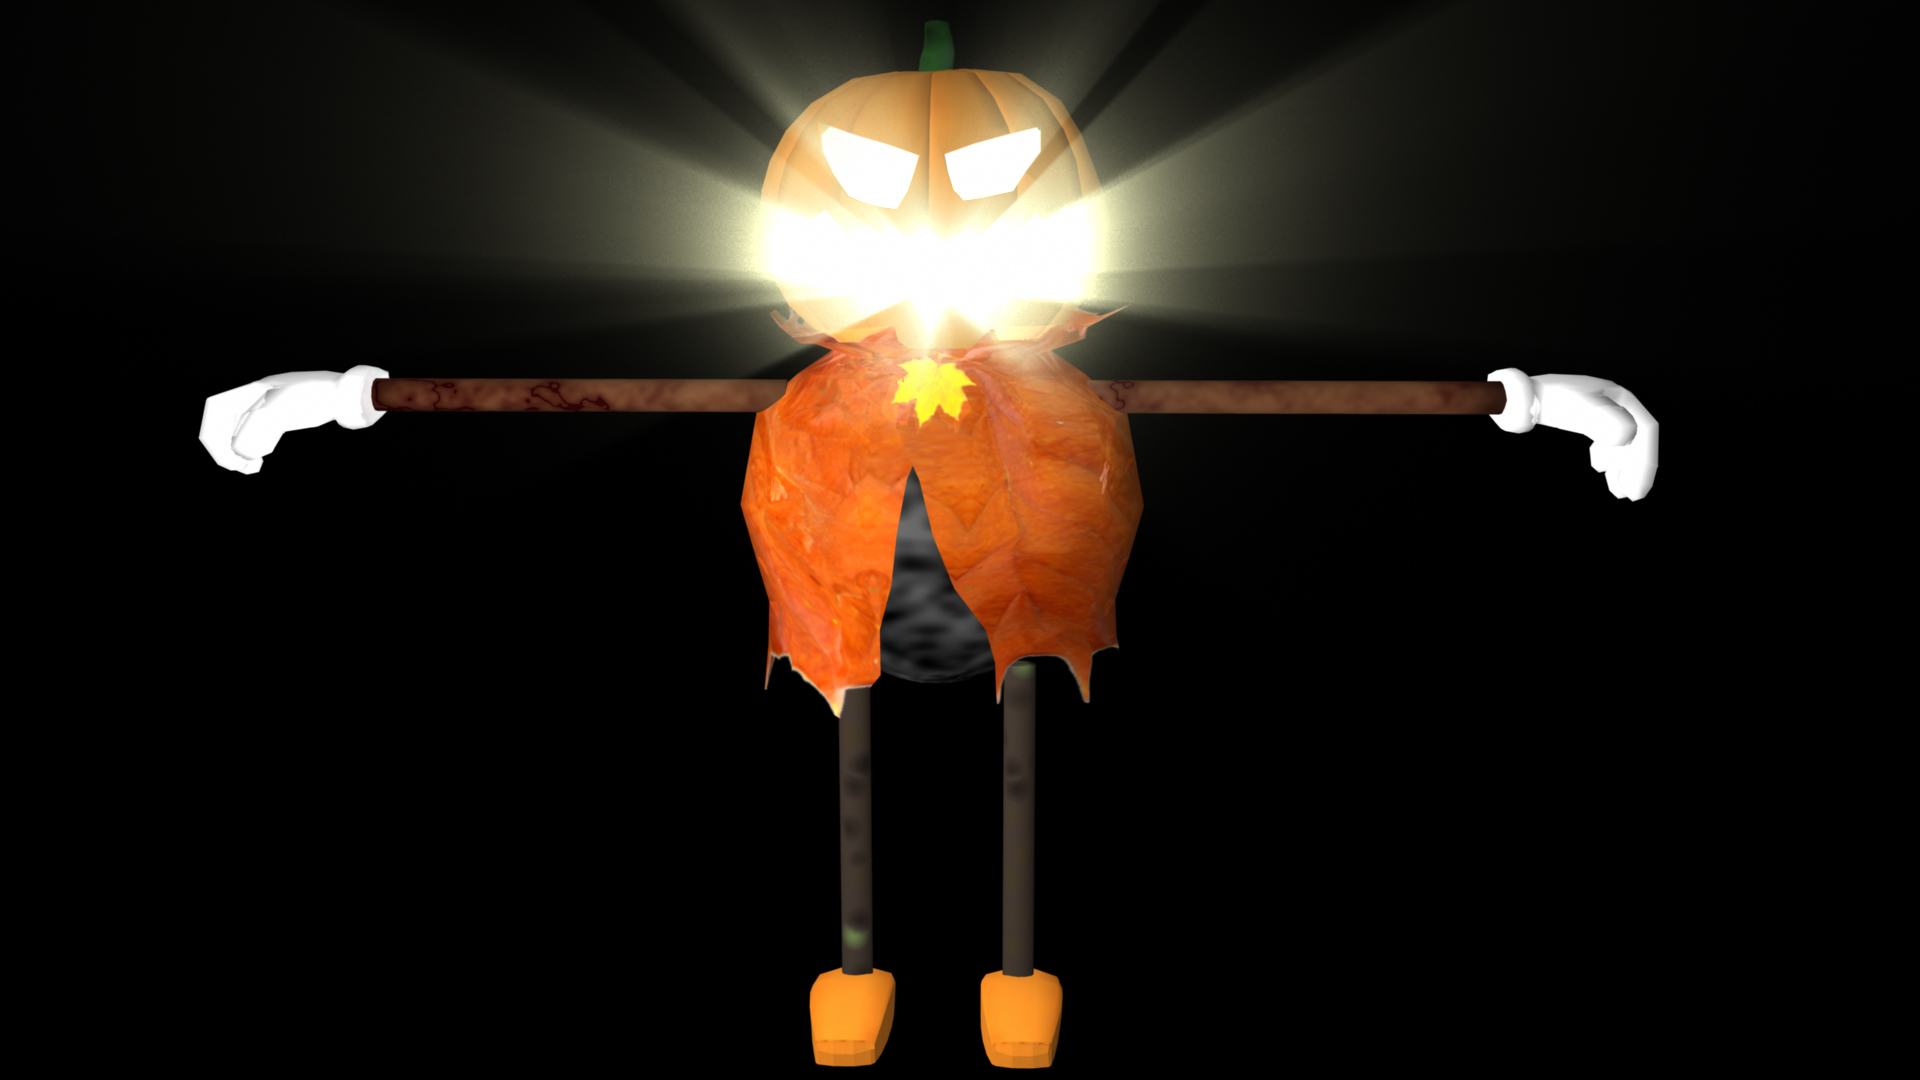
The band consists of three band members, a guitarist (pumpkin head singer), a percussionist (skeleton dancer), and a drummer (monstrous beast). Even though we settled on our main theme as something scary and monstrous, our characters are very cute and the overall feeling of the animation is delight. I made the guitarist pumpkin head character including modeling, shading, rigging, motion capture performance, processing, and animation retargeting. The light inside the pumpkin head is designed to synchronize with the amplitude of the theme song. I wrote a Maya MEL script to automatically keyframe analyzed wave data into the light intensity control channel. Other team members: Don Olmstead (Drummer), Hyejung Hur (Tambourine).
Final Animation
Final Animation Video on YouTube
Guitarist Solo Video on YouTube
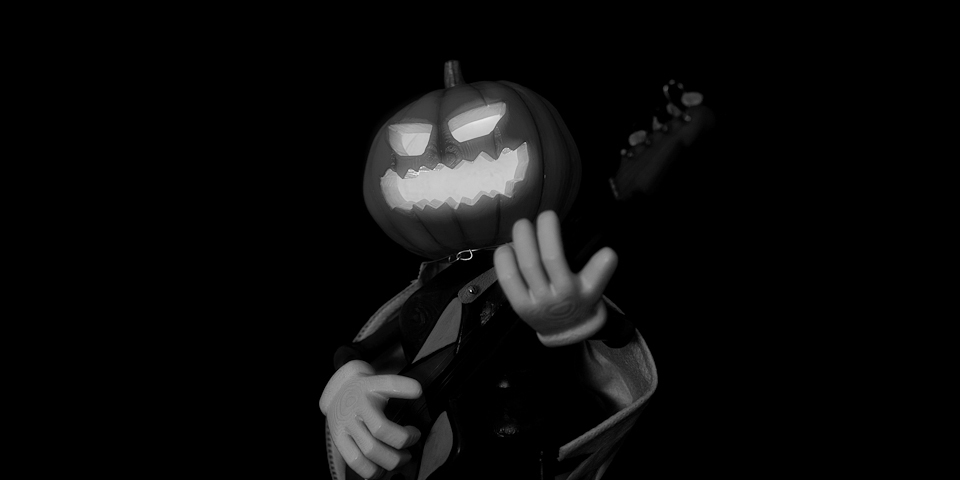
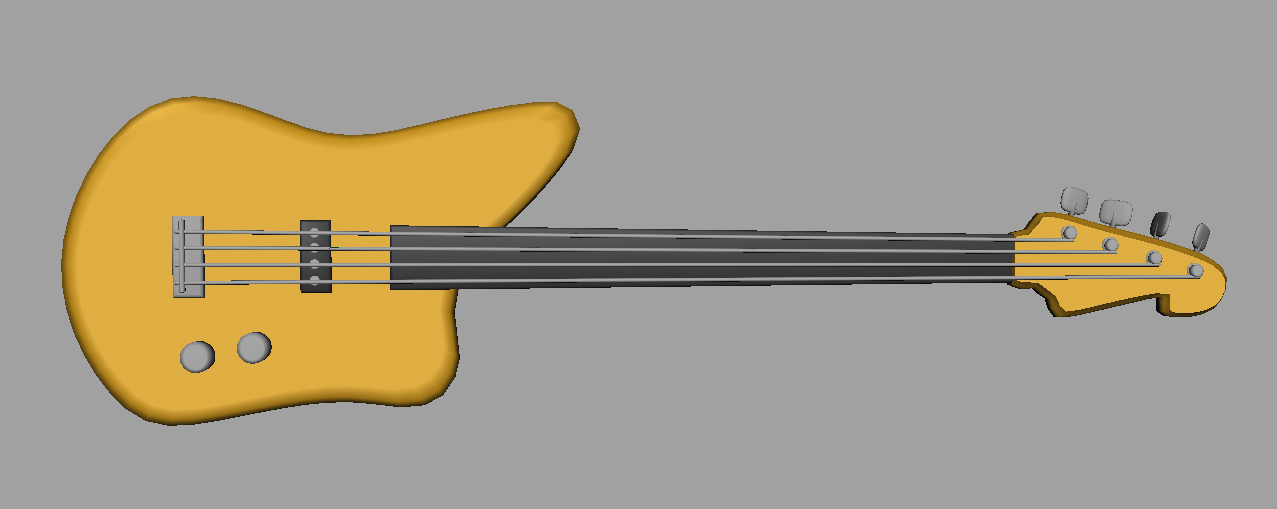
Character Design
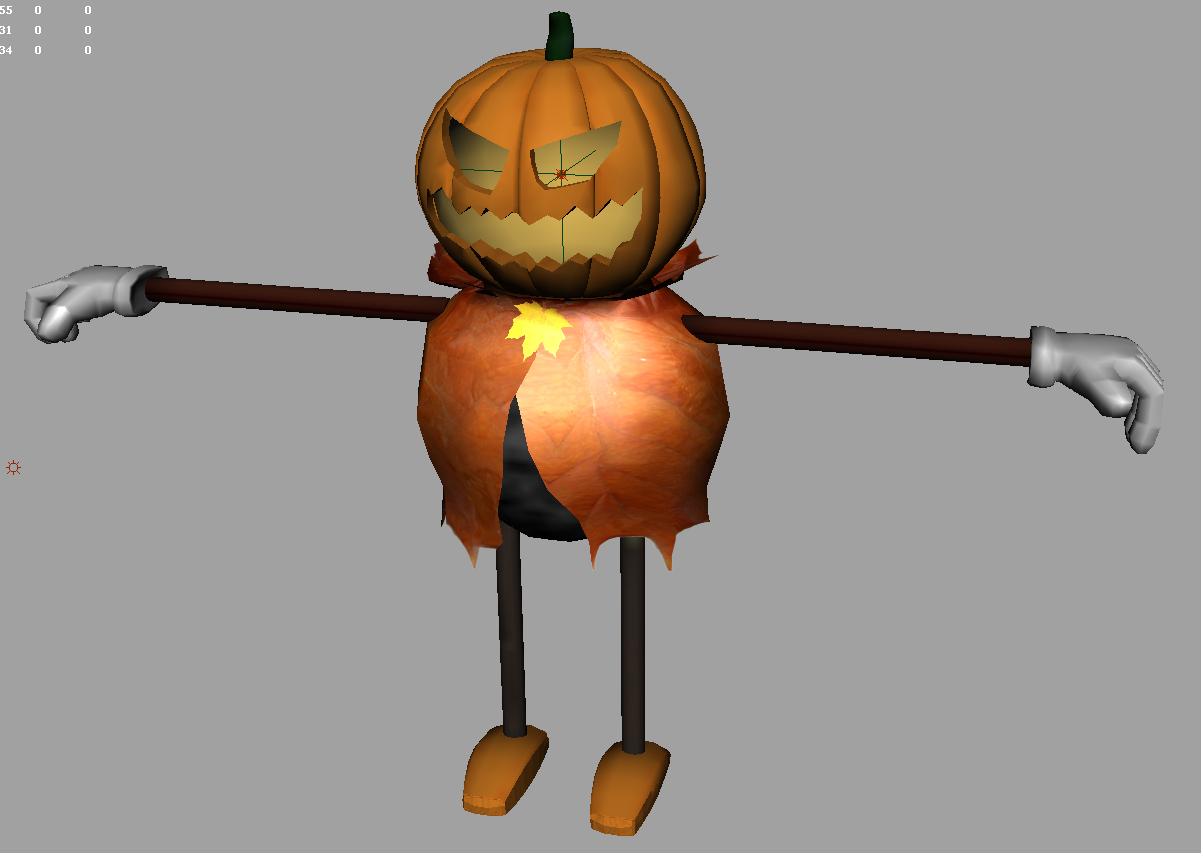
Since our team designed the overall concept as some sort of dark side, I chose a Halloween-like theme for the character. Big icon for this event is pumpkin head. The guitarist's head is directly modeled by this concept. The guitar instrument was also modeled in Maya software. Started with a sphere polygon and divided into 12 pieces along with radius and re-shaped to form a pumpkin-like model. Head model textured with image. Since the inner side of head is supposed to have a candle, I made another layer of inner head sphere polygon and set to use brighter yellow color. There is a point light located inside head so that the pumpkin is shaded brighter than the outside of it. This light only affects the head mesh (all other objects in the scene unlinked from light relationship via Maya relationship editor). Since the light is inside the pumpkin head and should move together as the character moves, it is linked to the head bone (parenting).
Character Animation Overview Video
Light Fog on Pumpkin Head
There is one more interesting design part of the pumpkin head. In many films and graphics, we often use a light fog technique to give the idea of light beam through void area. Our guitarist has the same situation — candle in the head. This makes the guitarist more attractive. I made another light (spot light) inside of head to generate light fog. This looks good but seriously takes much more time. Unfortunately we could not include this in the final rendering since we could not finish all frames by the final due date if we used this light fog.
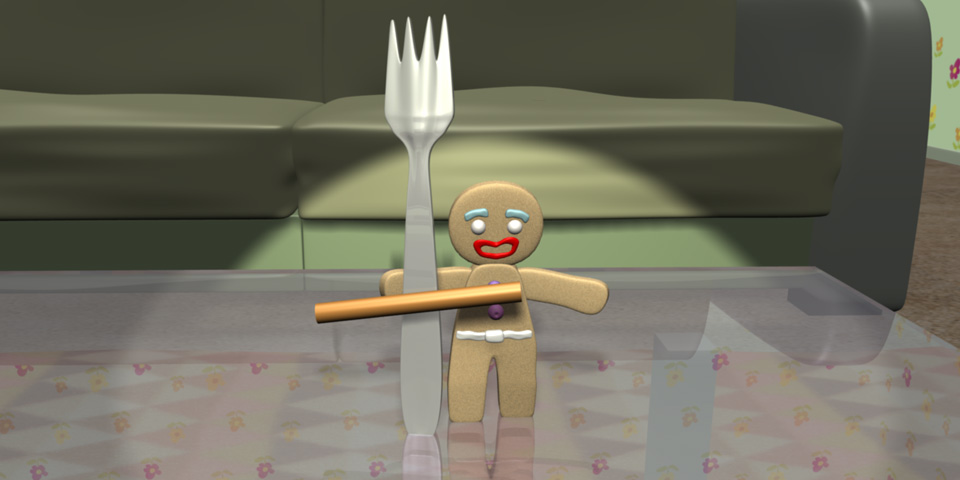
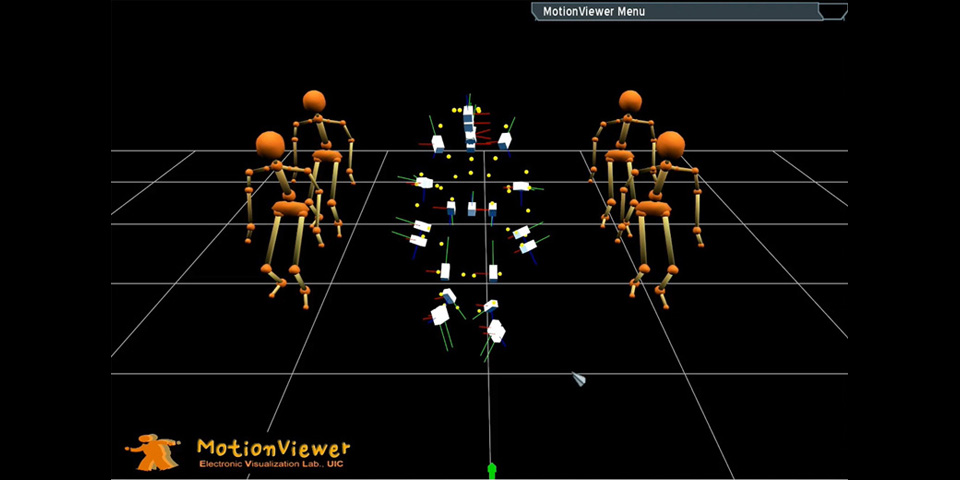
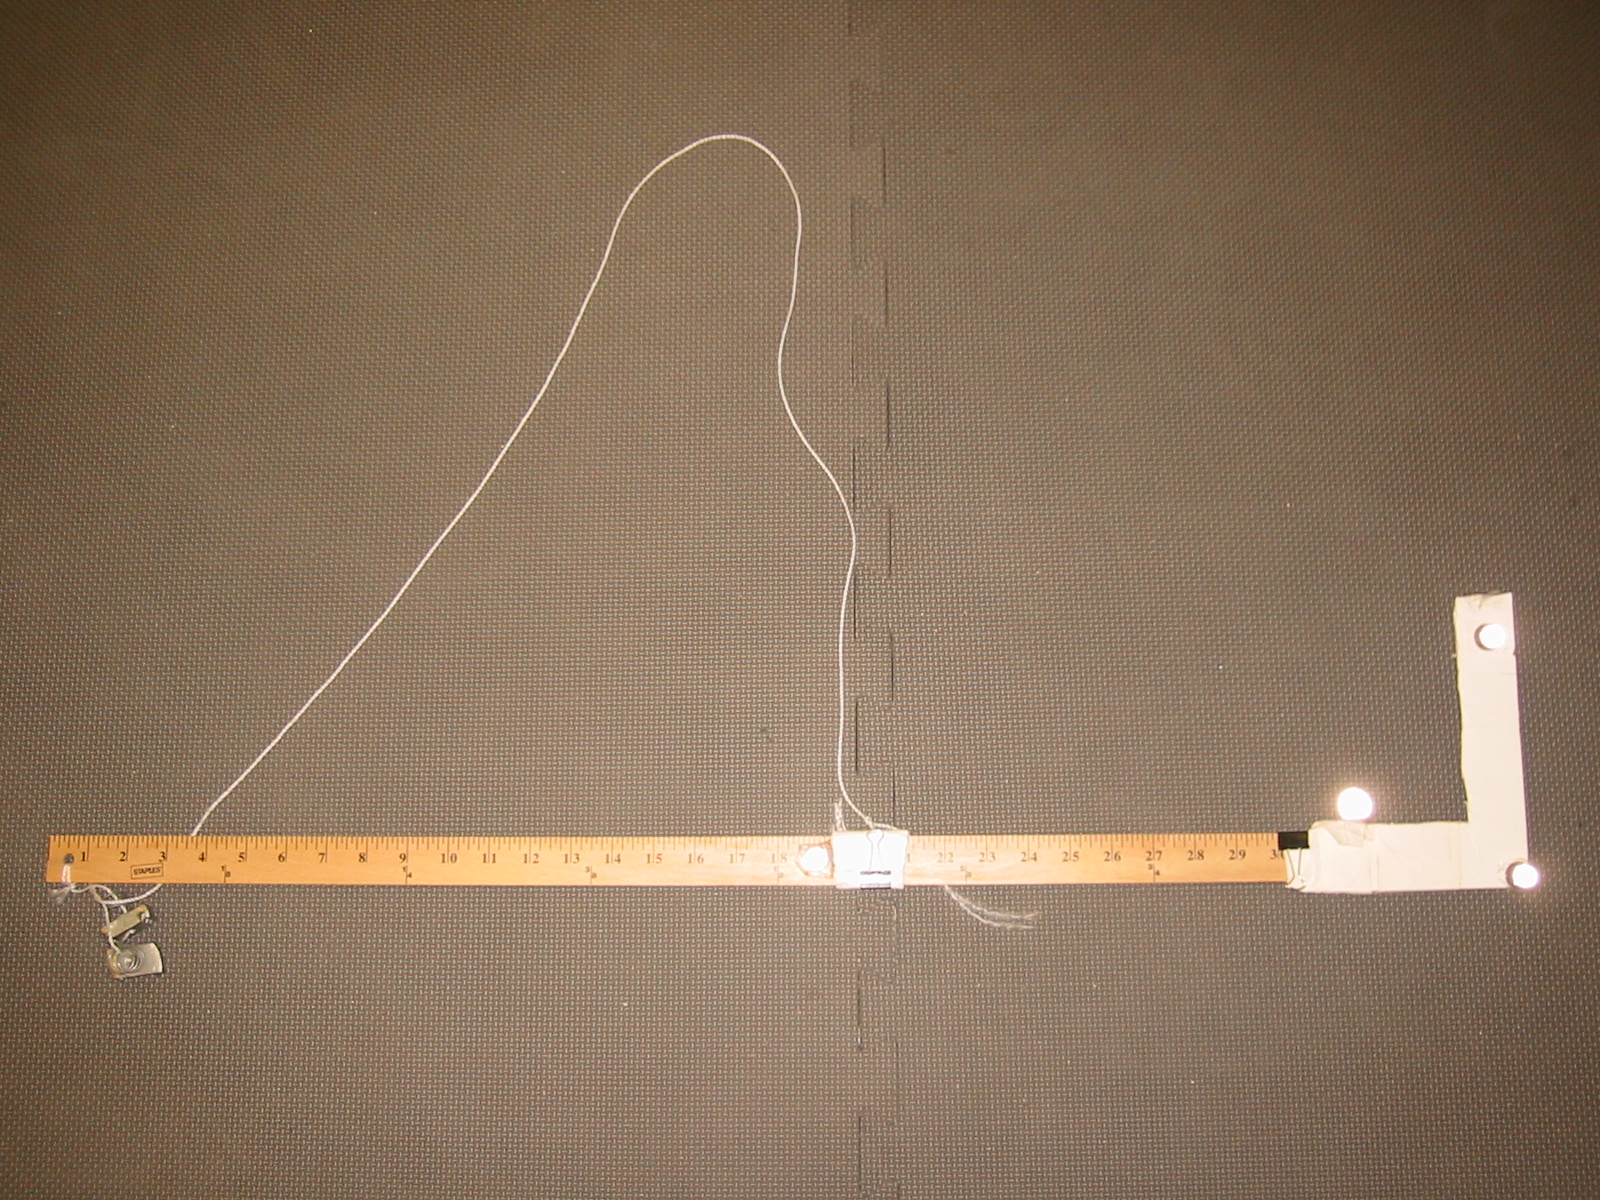
Motion Capture (Prop Setting)
General human motion is a bit simple job here, so I will focus more on the new challenge of prop setting. For guitar, I decided to capture a simple prop together with Actor. Simple prop does not need sophisticated setting. One can attach three or four markers around and create a subject in Vicon iQ software. One thing important here is any pair of markers should be within two feet since it only uses a single joint. In other words, if the prop is sort of a big one, then one may consider modeling it with multiple joints even though it is not necessary to bend itself. We used a measuring stick to mimic guitar. After capturing performance with props, it is important to set up the model accordingly. When we create a prop subject in Vicon software, its root (pivot) point is automatically set as the center of all markers selected to define this prop. In our case, the prop's origin is close to the neck of guitar. Therefore, the origin (pivot) point must be similar to this prop's root in the modeling package (Maya). In the later process, the guitar mesh is assigned to this joint as child and transforms together.
Post Processing of Motion Data
This stage is a very time consuming task. Even with automation tools built-in, there are always some errors that need to be fixed manually. Common operations during mocap post-processing include: Spline filler (Vicon) to fill the gap of markers to prevent jittery skeleton moves. Kinematic smooth (Vicon) to smooth out noisy kinematic motion. Total removal of a certain marker (Vicon) — in case no other operation helps, sometimes removing some marker data helps to generate smoother skeleton (kinematic fit) animation, for instance inner elbow markers. Translation smoothing filter (MotionBuilder) to clean up noisy motion.
Motion Retargeting & Fine Tune
I spent quite some time modifying motion data in MotionBuilder software. It was mainly because of the guitar. With right setup of prop and model coordination, there is a lot more work left over. In short, the retargeted character's skeletal structure is different from the performer (me). This causes improper positioning of hands, left and right. To correct this, I heavily used MotionBuilder's layering animation feature. Without editing base motion data, one can change it (blend/transition) to get it there.
Motion Retargeting Comparison
Rhythm & Animation
Since I am the vocalist in the band, I decided to use some waveform from music. I used an FFT analyzer to record waveform band changes and used that numerical data. Since our animation has a total of 2,130 frames, it is almost impossible to key all these values manually. Therefore, I made a Maya MEL script to insert keyframe data automatically. Finally, I used this to control the intensity of Pumpkin's headlight.

Lessons
In general, I have enjoyed a lot during this final project. Especially sharing experience with others was very fruitful. Keyframe Animation vs. Motion Capture — the following short video clip shows the idea of music beat and human motion. I made this for fast prototyping, so it is not so well tuned but gives a good sense of rhythm and motion. Final words — I would like to thank all our team members for their hard work.